For mods, see Tokyo Xtreme Racer (2025).
With this tutorial, you can replace the default decals with your custom ones. It’s currently unknown if adding decals is possible.
Required tools
- FModel
- UE4-DDS-Tools (
UE4-DDS-Tools-*-GUI.zip) - UnrealReZen
Instructions
Extracting the original decals
- Open FModel.
- Add Tokyo Xtreme Racer to the list of games in FModel. You will only have to do these steps once.
- Click on under
ADD UNDETECTED GAME. - Click on and navigate to the game directory, then select it.
- Click on to add the game to the list.
- Click on the
UE Versionsdropdown and selectGAME_UE5_4.
- Click on under
- Select Tokyo Xtreme Racer from the list and click OK. If FModel mentions available updates, you may safely dismiss this dialog.
- Set a proper AES key for the game. Again, you will only have to do these steps once.
- Navigate to Directory → AES.
- In the
Main Static Keyfield, paste:0xD499D0D1C8E2B87D576EA9756B5137306D1A96D378124C16A6F033BE2A9CBB4Aand press OK.
- If done correctly,
pakchunk0-Windows.utocin theGAME ARCHIVESlist will no longer be greyed out.
- Double-click on
pakchunk0-Windows.utocand navigate to the directory with decals:TokyoXtremeRacer/Content/ITSB/ArtAssets/Models/Livery/Vinyl. - Find the decal(s) you want to replace. Right-click on each and select Export Raw Data (.uasset).
- If done correctly, the decal(s) will be extracted to a new directory created where FModel is. The decal(s) will be located in
Output/Exports/TokyoXtremeRacer/Content/....
Replacing the decals
For each decal, do the following:
- Open UE4-DDS-Tools.
- Navigate to the directory with the extracted decals (
Output/Exports/TokyoXtremeRacer/Content/...), drag and drop the.uassetfile into the field that says Drop .uasset here!. - Drag and drop the image you want to replace the decal with into the field that says Drop an image here!.
- Change the
UE versionfield to5.4if necessary. - Press Inject.
- A new
.uassetfile will be created in aninjecteddirectory. Take this asset, and replace the original asset from FModel’sOutputdirectory with that one.
Importing the decals back into the game
- Open the Command Prompt in a directory with UnrealReZen.
- Run:
UnrealReZen.exe --content-path "<path-to-fmodel>\Output\Exports" --game-dir "<path-to-game>\TokyoXtremeRacer\Content\Paks" --output-path "<path-to-game>\TokyoXtremeRacer\Content\Paks\CustomDecals_P.utoc" --compression-format Oodle --engine-version GAME_UE5_4 --aes-key 0xD499D0D1C8E2B87D576EA9756B5137306D1A96D378124C16A6F033BE2A9CBB4Awhere:
<path-to-fmodel>is the path where FModel is located. Next to that should be anOutputdirectory where you extracted the original decals.<path-to-game>is the path where Tokyo Xtreme Racer is installed. Notice this path is present twice in the command. A correctly constructed path must includeTokyoXtremeRacertwice.
- If done correctly,
CustomDecals_P.pak,CustomDecals_P.ucasandCustomDecals_P.utocfiles will be created in<path-to-game>\TokyoXtremeRacer\Content\Paks. If the decals are packed correctly,CustomDecals_P.ucaswill not be 1KB in size. If it is, you’ve done something wrong. - If later you want to come back and repack the archive after adding more custom decals, do note that due to a bug in UnrealReZen, the tool currently cannot overwrite existing archives
and it will crash when trying to do so. To fix this, go to
<path-to-game>\TokyoXtremeRacer\Content\Paksand deleteCustomDecals_P.pak,CustomDecals_P.ucasandCustomDecals_P.utoc, and re-run UnrealReZen.
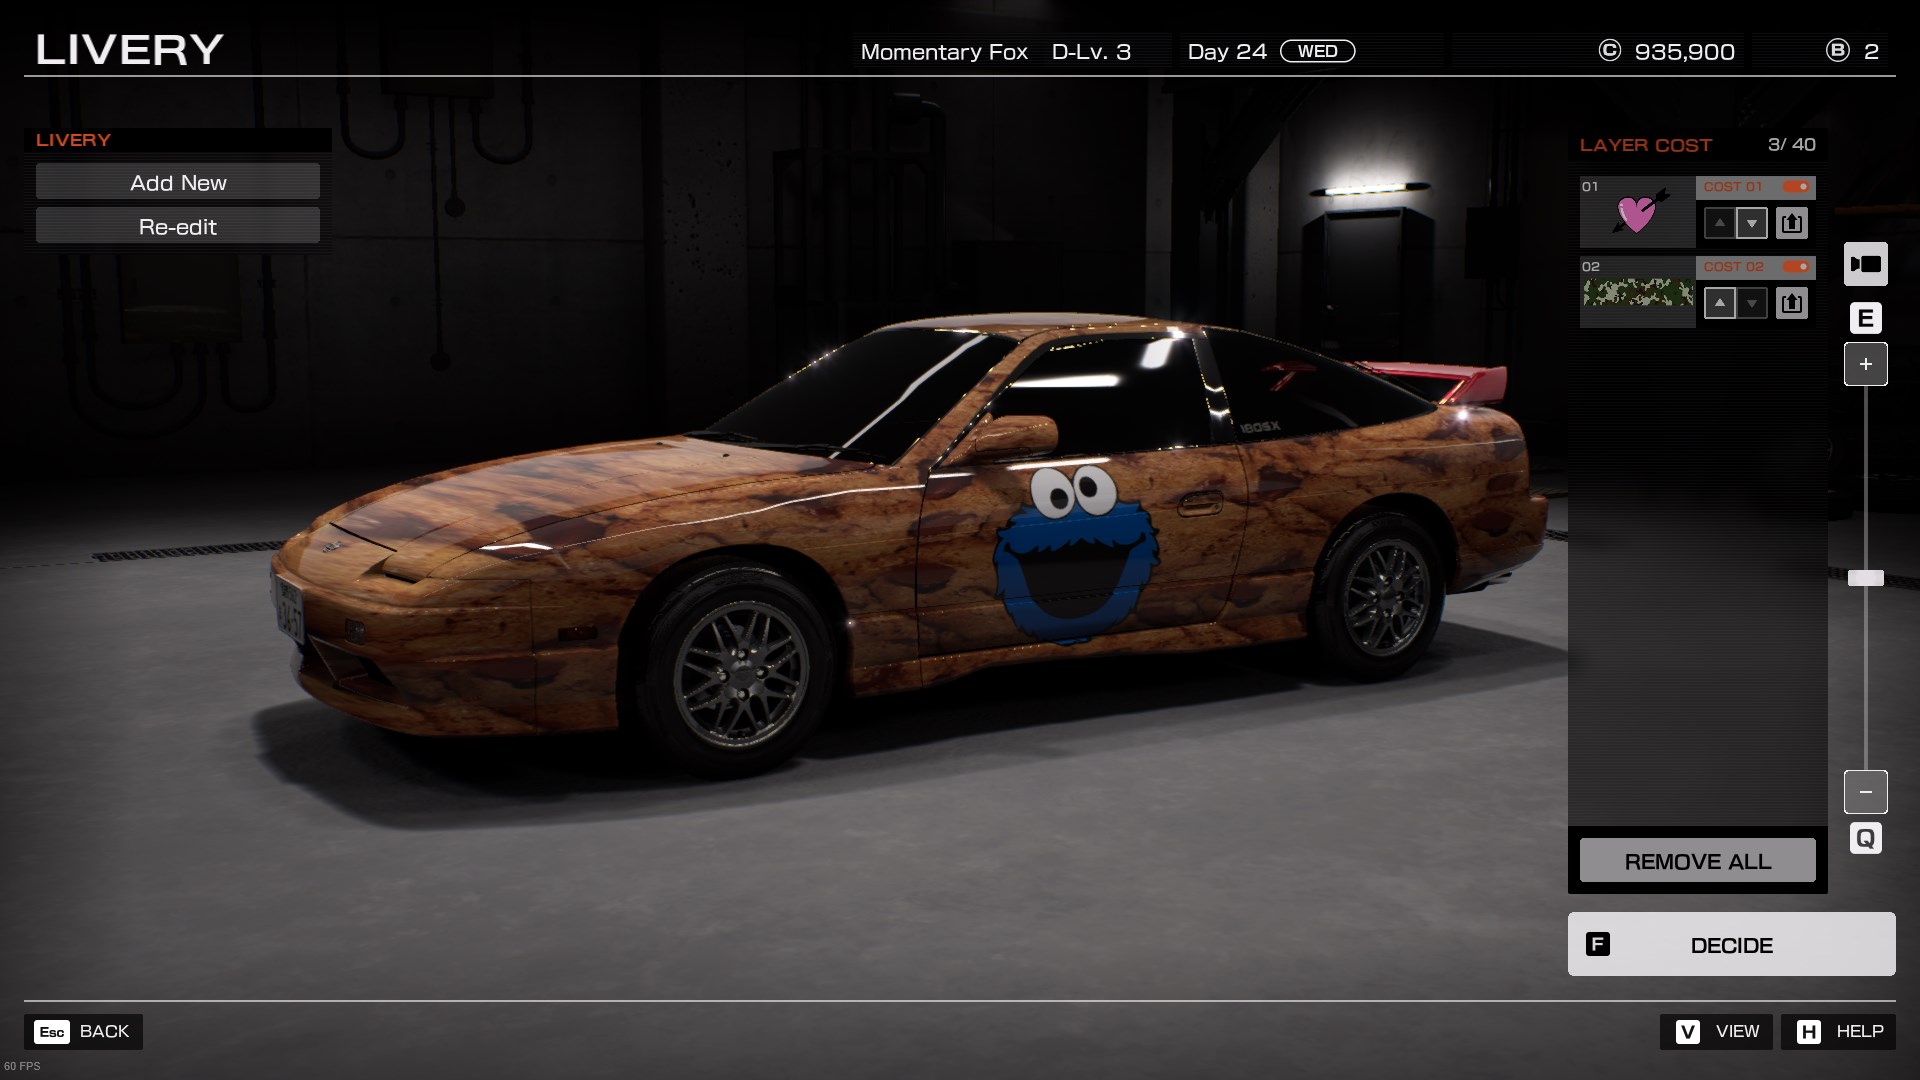
You may now use your decals in the Livery Editor. Please note that the preview images will NOT be replaced! Custom decals only show once you place them on your car.