
These instructions are general and apply to every download from this website. These steps apply to any game.
Locating your game directory
Steam
- Locate the game entry in your Steam Library.
- Right-click on the game entry, select Manage → Browse local files.
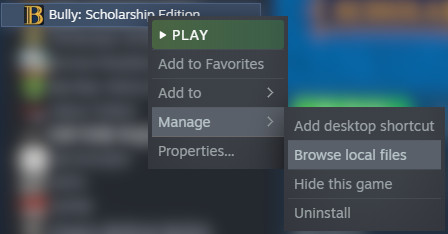
- An Explorer window will open, revealing your game directory. You’ll want to put your mod files here.
GOG Galaxy
- Locate the game entry in the GOG Galaxy client in the Installed tab.
- Click on the icon, select Manage installation → Show folder.
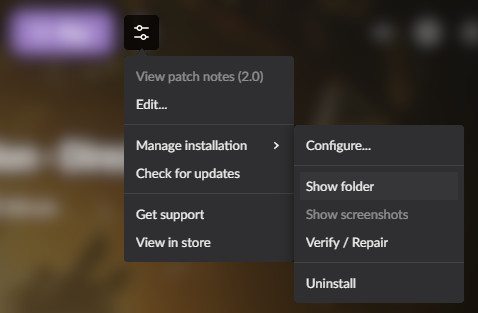
- An Explorer window will open, revealing your game directory. You’ll want to put your mod files here.
Rockstar Games Launcher
- In the RGL client, click SETTINGS.
- Click on the game entry in the My installed games list.
- Click OPEN next to the View installation folder entry.
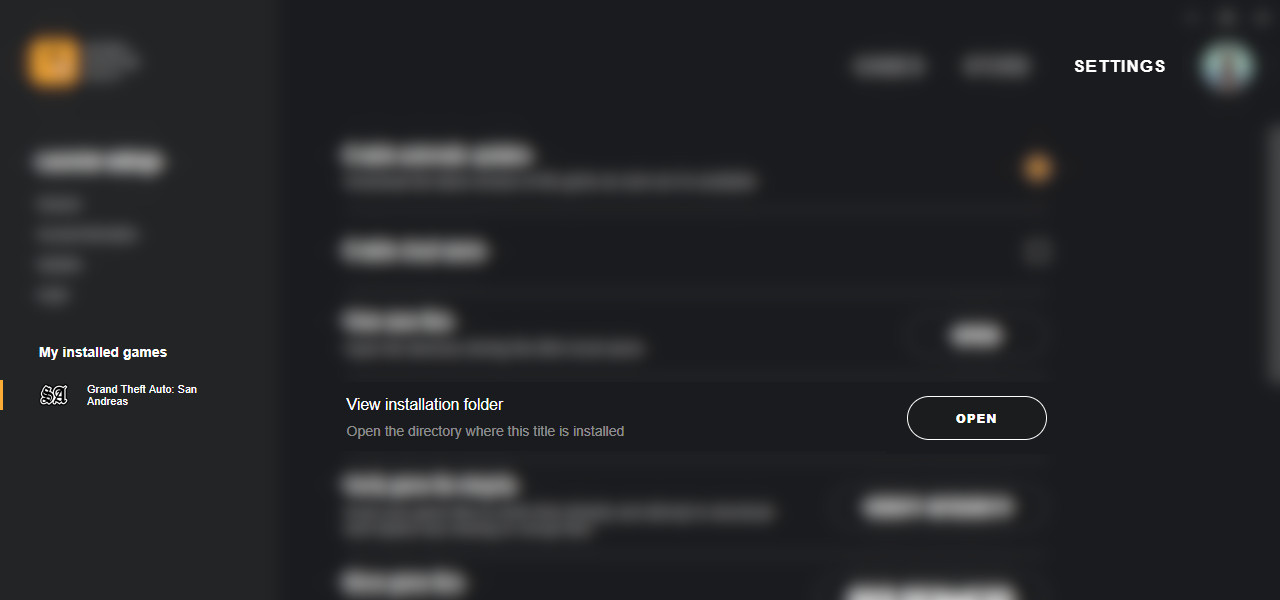
- An Explorer window will open, revealing your game directory. You’ll want to put your mod files here.
Ubisoft Connect
- Locate the game entry in the Ubisoft Connect client in the Games → Installed tab.
- Right-click on the game entry, select View game details.
- Click on Properties, then on Open folder in the Local files section.
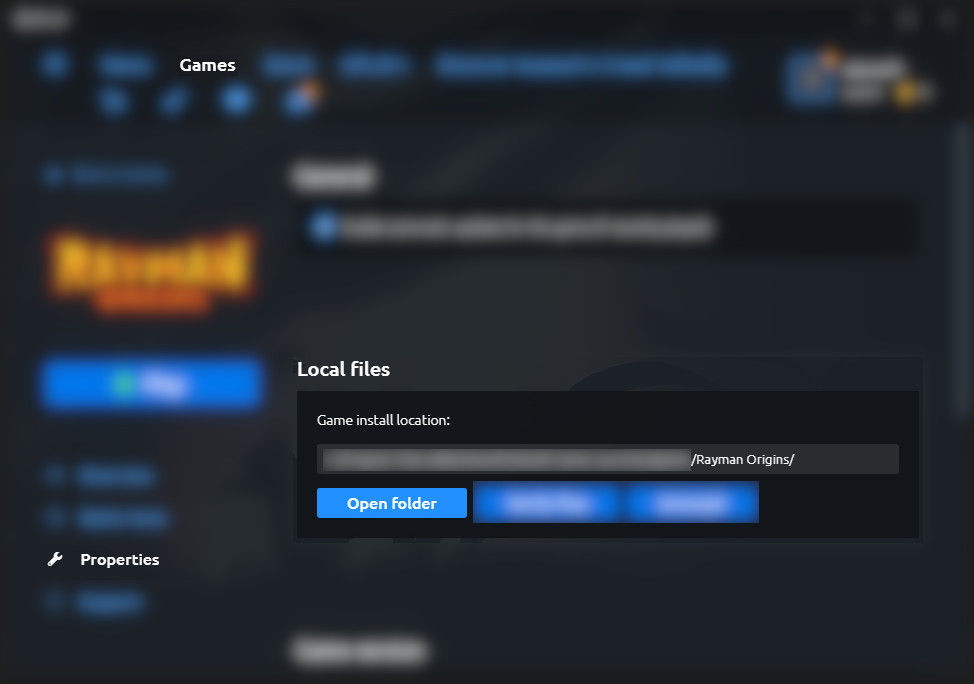
- An Explorer window will open, revealing your game directory. You’ll want to put your mod files here.
EA App
- Locate the game entry in the EA App client in the Installed games tab.
- Click on Manage → View properties.
- Click on BROWSE in the Install location section.
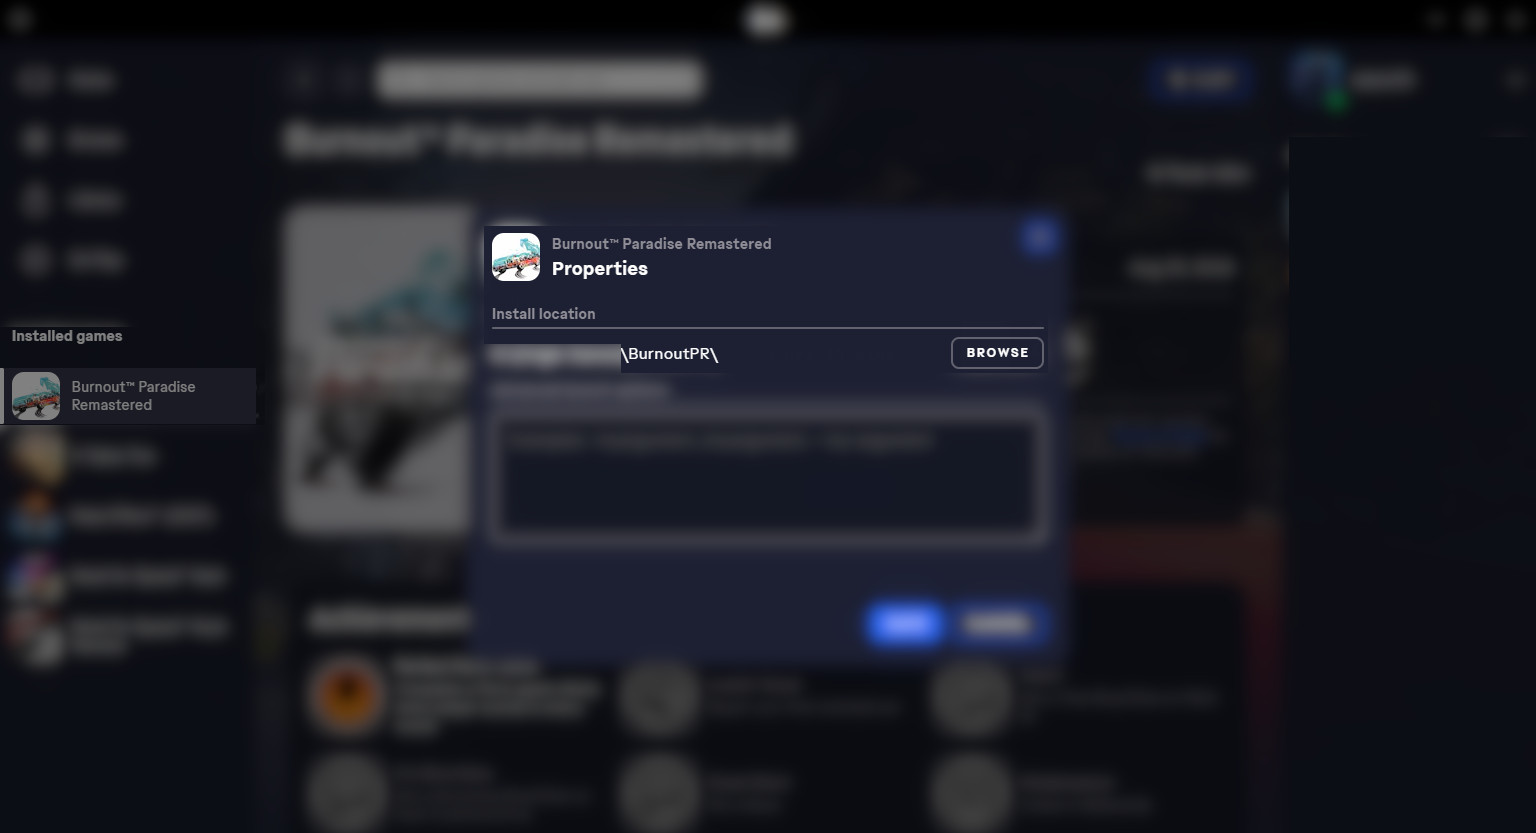
- An Explorer window will open, revealing your game directory. You’ll want to put your mod files here.
Retail (disc)
If you’ve installed the game with a traditional installer from the disc, you probably know where the game is installed. If not, it’s easiest to locate it by following either its Desktop shortcut or the Start Menu shortcut:
- Locate the game shortcut on Desktop or the Start Menu. Usually, it’s easiest to locate the shortcut in the Start Menu by typing the game name.
- Right-click the located shortcut and select Open file location.
- On Windows 10, selecting this option on the Start Menu shortcut might take you to the location of the shortcut, not the game’s executable
(easily identifiable by
Start Menuin the path). If that happens, right-click the shortcut and select Open file location from the context menu.
- On Windows 10, selecting this option on the Start Menu shortcut might take you to the location of the shortcut, not the game’s executable
(easily identifiable by
- An Explorer window will open, revealing your game directory. You’ll want to put your mod files here.
Extracting the mod files
This section assumes that you don’t use WinZIP, WinRAR or 7-Zip and instead refers to the tools included in Windows. If you use any of these third-party file archivers, I assume you know how to extract the archives.
- Right-click on the mod’s archive (
.zipfile), select Extract All.... - Set the Destination folder to the game’s directory you have previously located and click Extract.
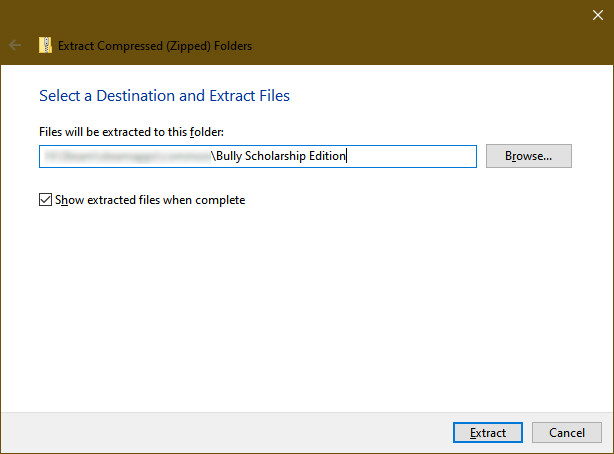
If a prompt saying ‘The destination has X files with the same names’ shows up, select Replace the files in the destination.
- Files will be extracted and the extracted files will appear in the game directory.
Configuration
This section is applicable only to select downloads.
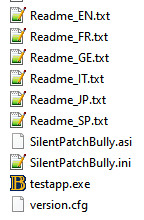
- Locate the game directory and the mod’s configuration file – if the mod has a configuration file,
it has the same name as the mod’s
.asifile and has a.iniextension. If you have file extensions hidden, it might appear without one. - Double-click the file to open it in a text editor of choice – typically Notepad.
- Make the necessary changes as instructed by individual mod’s configuration files, and save the file.
Proton/Wine
This section is applicable only when not installing mods on Windows.
In order to enable patch loaders you might need to perform a DLL override in your Wine prefix.
For example, when the patch comes with the dinput8.dll file, you need to tell Wine explicitly that it’s to be used.
There’s more than one way to achieve it.
WINEDLLOVERRIDESvariable lets you temporarily specify DLL overrides. It can be used from a command line as well as in the Steam launcher. In case of command line, simply prepend the usual start command withWINEDLLOVERRIDES="dinput8=n,b". For Steam, head to game’s properties and setLAUNCH OPTIONStoWINEDLLOVERRIDES="dinput8=n,b" %command%.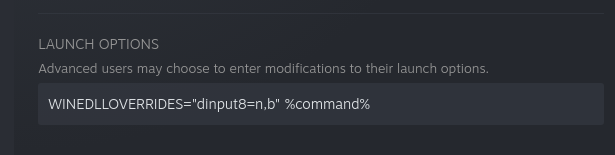
- Use
winecfgtool to make a permanent override for a specific Wine prefix. First, you need to locate Wine prefix you wish to modify. In case of Proton, Steam creates Wine prefix for each game in$HOME/.steam/steam/steamapps/compatdata/game_id_goes_here/pfx. For example, for Yakuza 3 Remastered it will be$HOME/.steam/steam/steamapps/compatdata/1088710/pfx– you can get game’s id from the URL in Steam Store. Then you need to runwinecfgwith the path from the previous step:WINEPREFIX="$HOME/.steam/steam/steamapps/compatdata/1088710/pfx" winecfgSelect Libraries tab and fill the combo box with the name of the library you wish to override and hit Add. You can verify that it’s been added to the list below with
(native, builtin)suffix. Then close the window with OK button.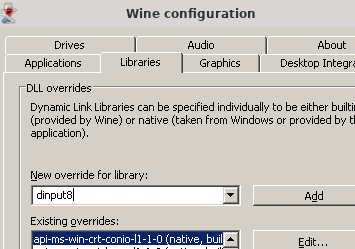
Related Wine documentation: